Self Hosting a Space
Part of our guide to running an online community you actually own.
Nostr identifies users with cryptographic identities, and one of the great things about them is that they reduce your exposure to deplatforming: your social identity can’t be taken away from you. Keep a backup of your events and you’re also safe from losing your content and social graph. But there’s no getting around the fact that someone has to run the servers.
For a regular Nostr user, self-hosting is mostly a nice-to-have. But if you’re a community organizer, people depend on you to keep their content private and secure. Depending on the size and nature of your community, and on your own technical skill, it may be worth running your space on infrastructure you control. The choice comes with trade-offs, but it can pay off depending on your goals.
This guide walks you through provisioning a virtual private server, installing docker compose, setting up a relay, and connecting to it in Flotilla.
Getting a Server
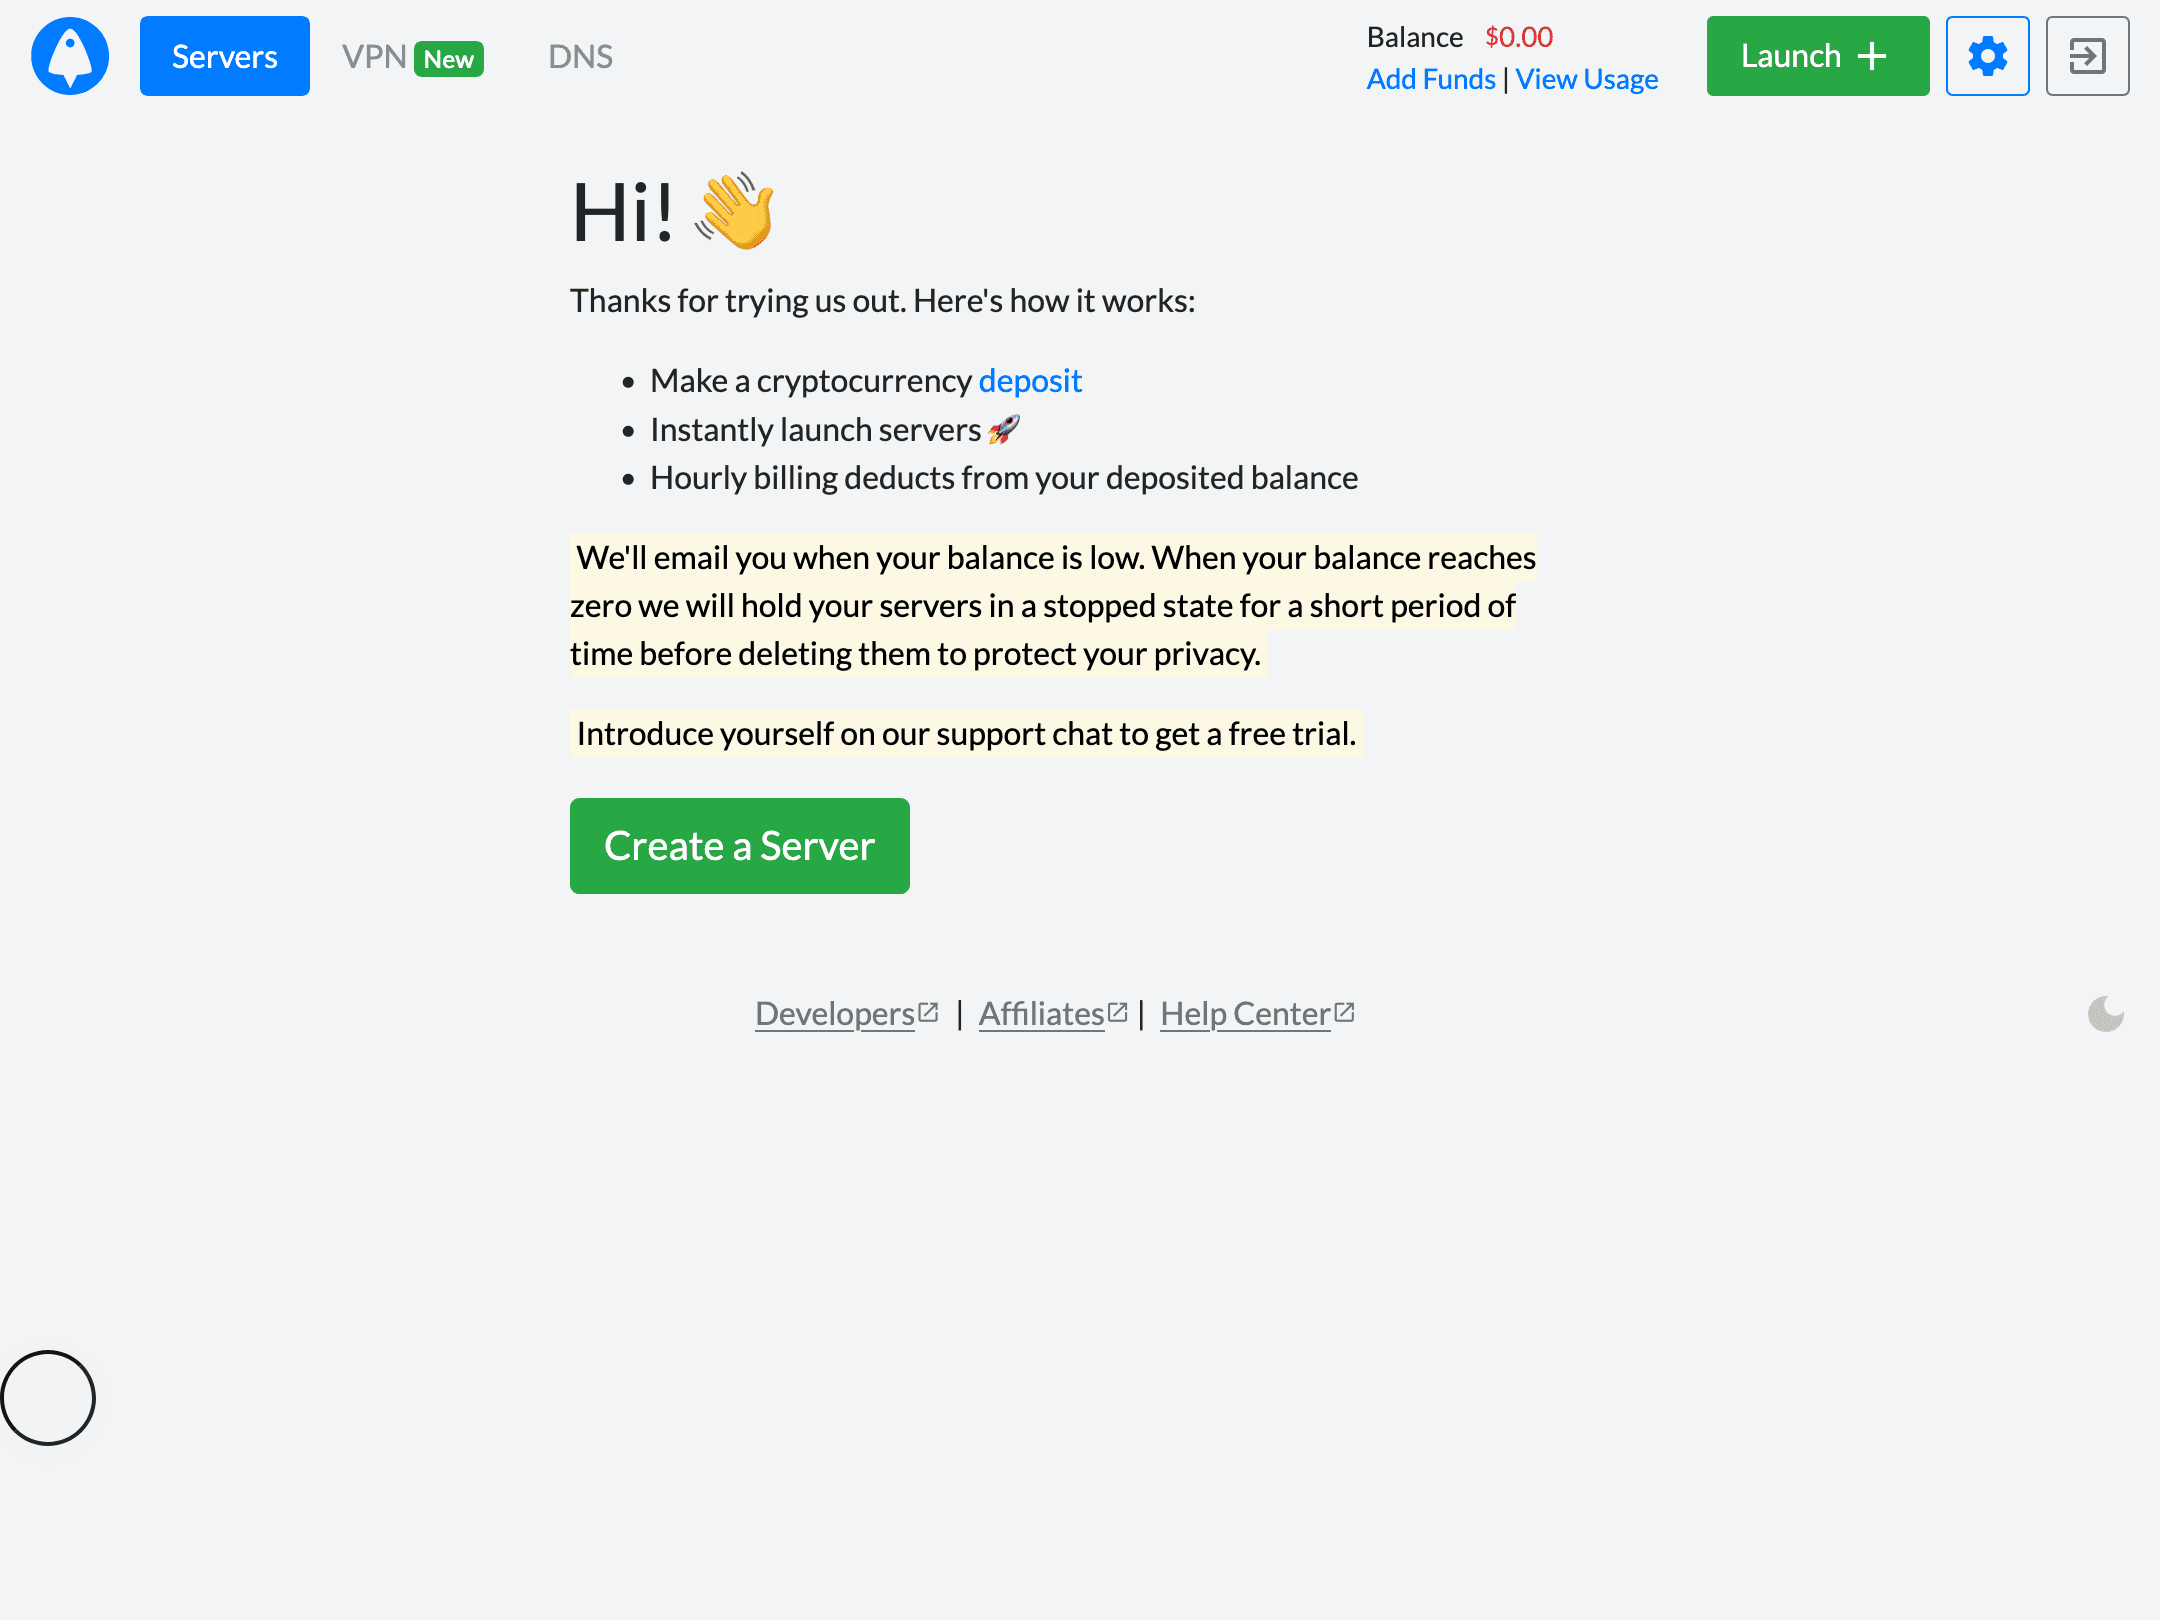
In this tutorial we’ll use BitLaunch, which offers domains and servers KYC-free and payable in bitcoin — but you can use any server provider you’re comfortable with.
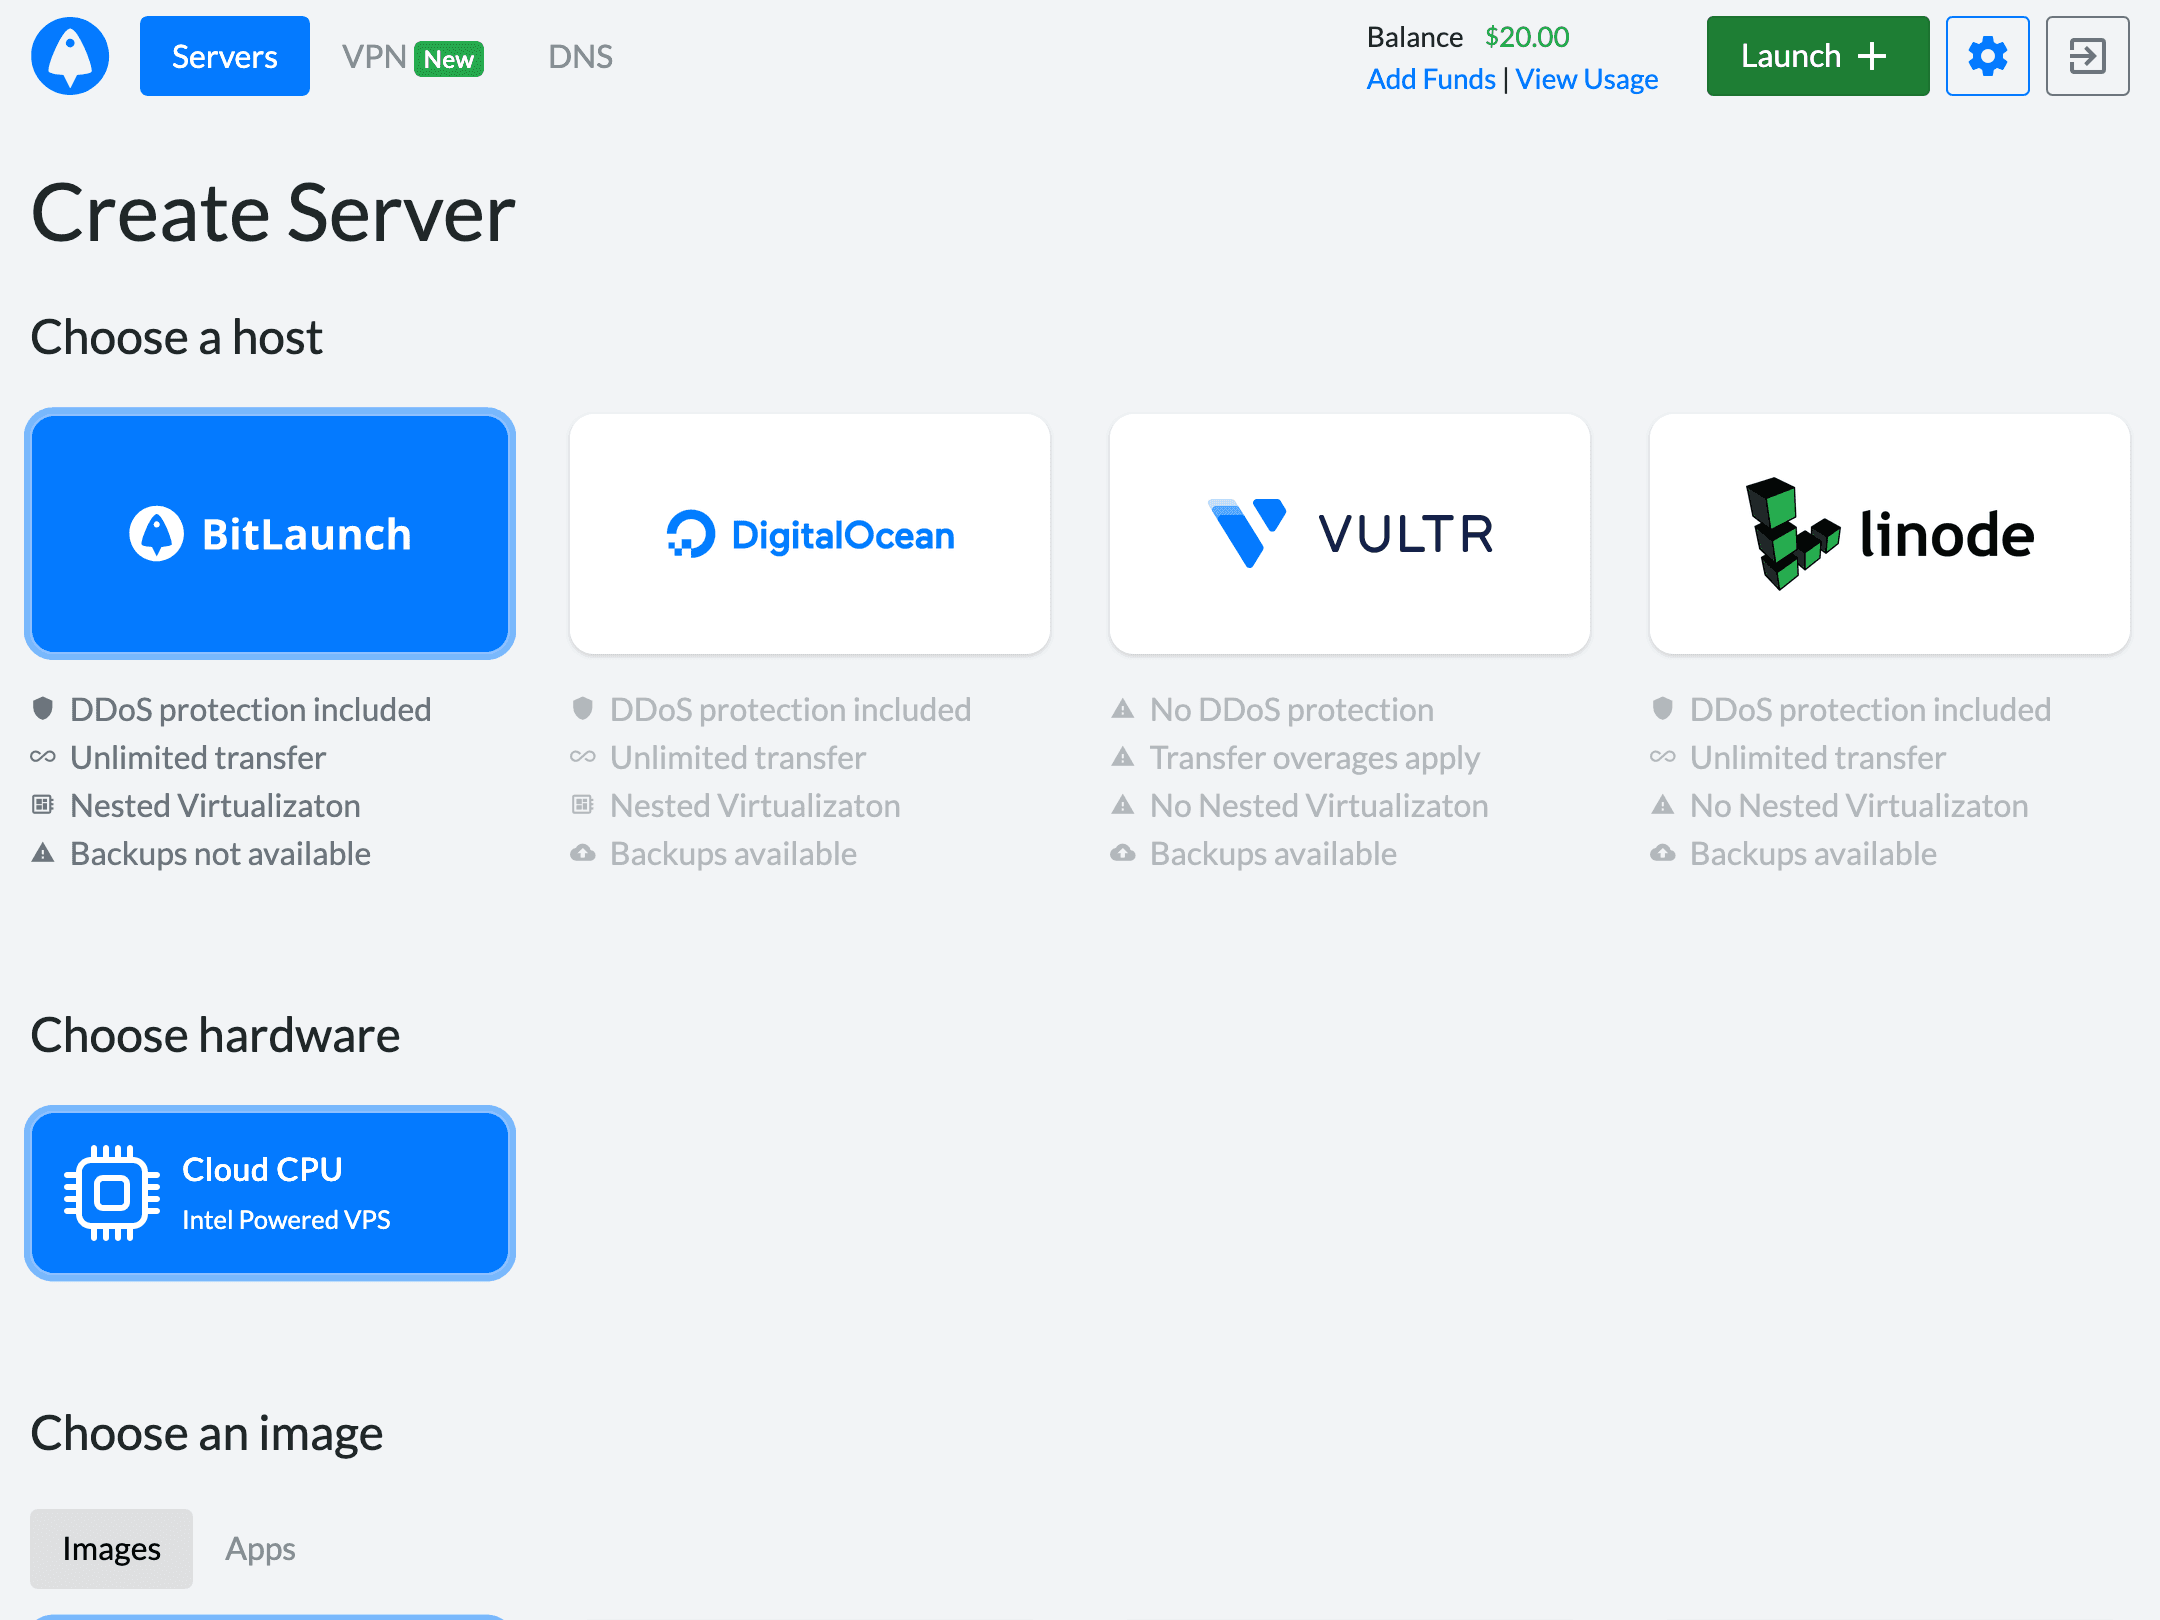
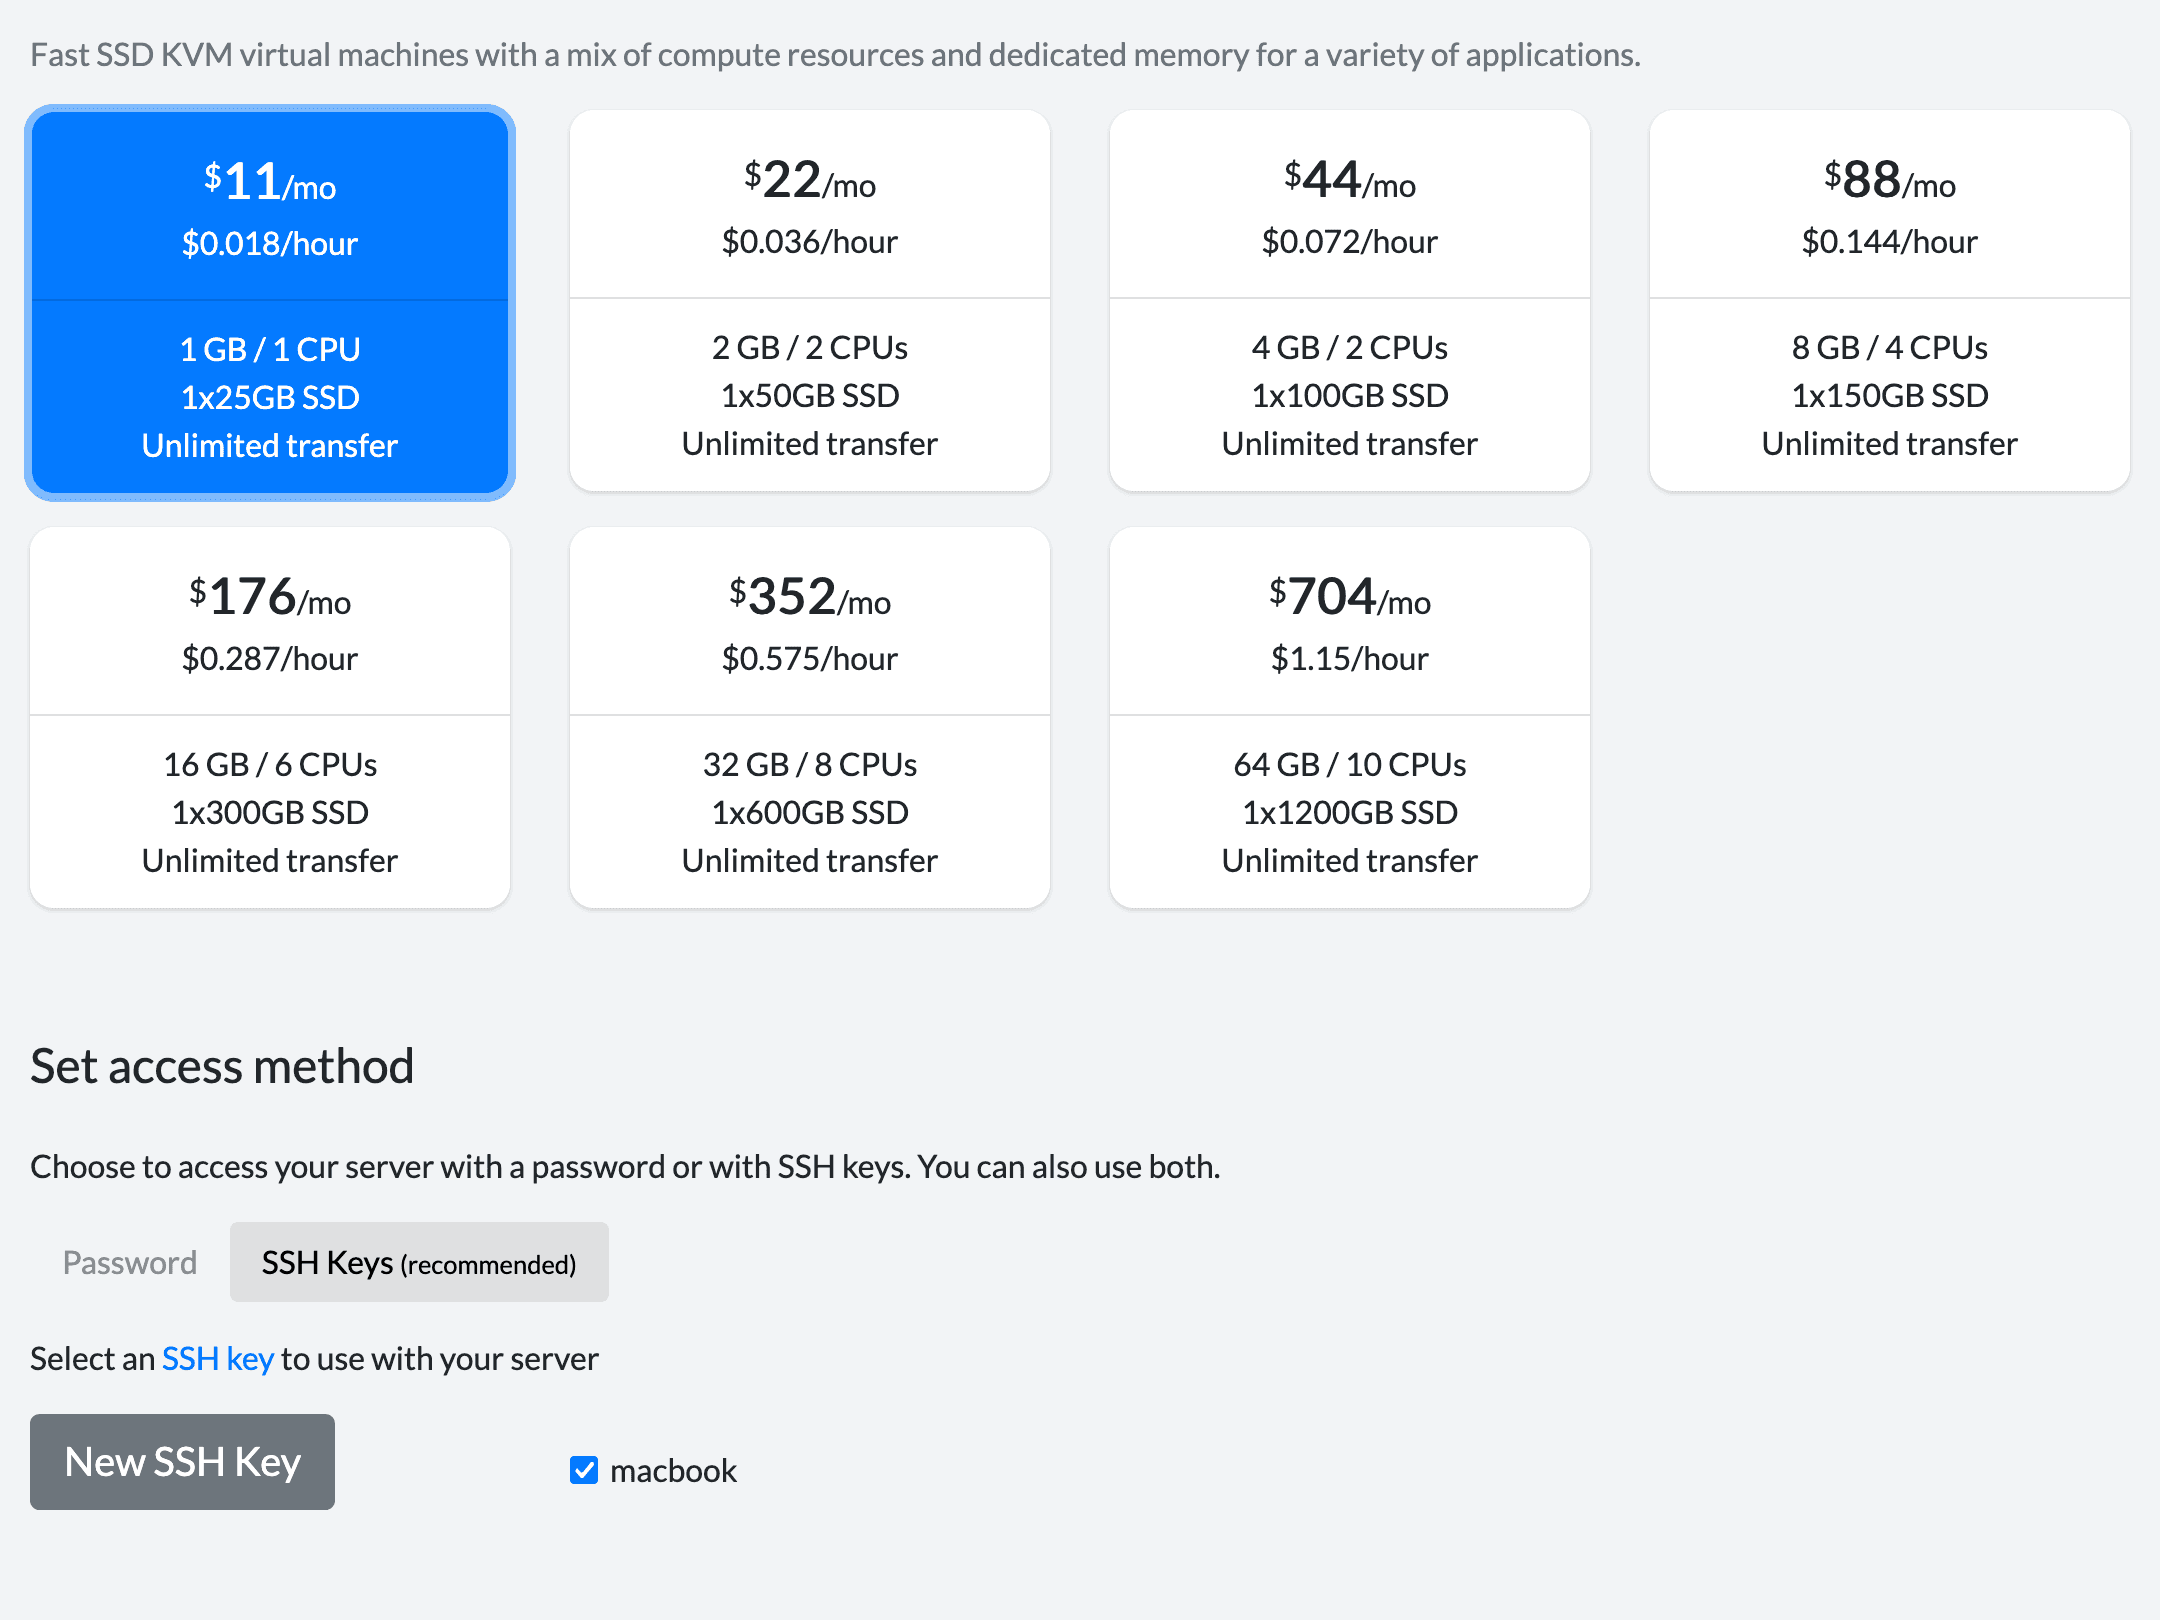
Once you’ve confirmed your email and deposited some bitcoin, click “Create a Server”. We’ll go with the default settings here: a BitLaunch Ubuntu 24.04 $11/mo VPS.
For access, you can pick a password or upload your ssh public key. An ssh key is more secure and more convenient, but you can start with a password and switch to ssh later if you prefer. See here for directions on setting one up.
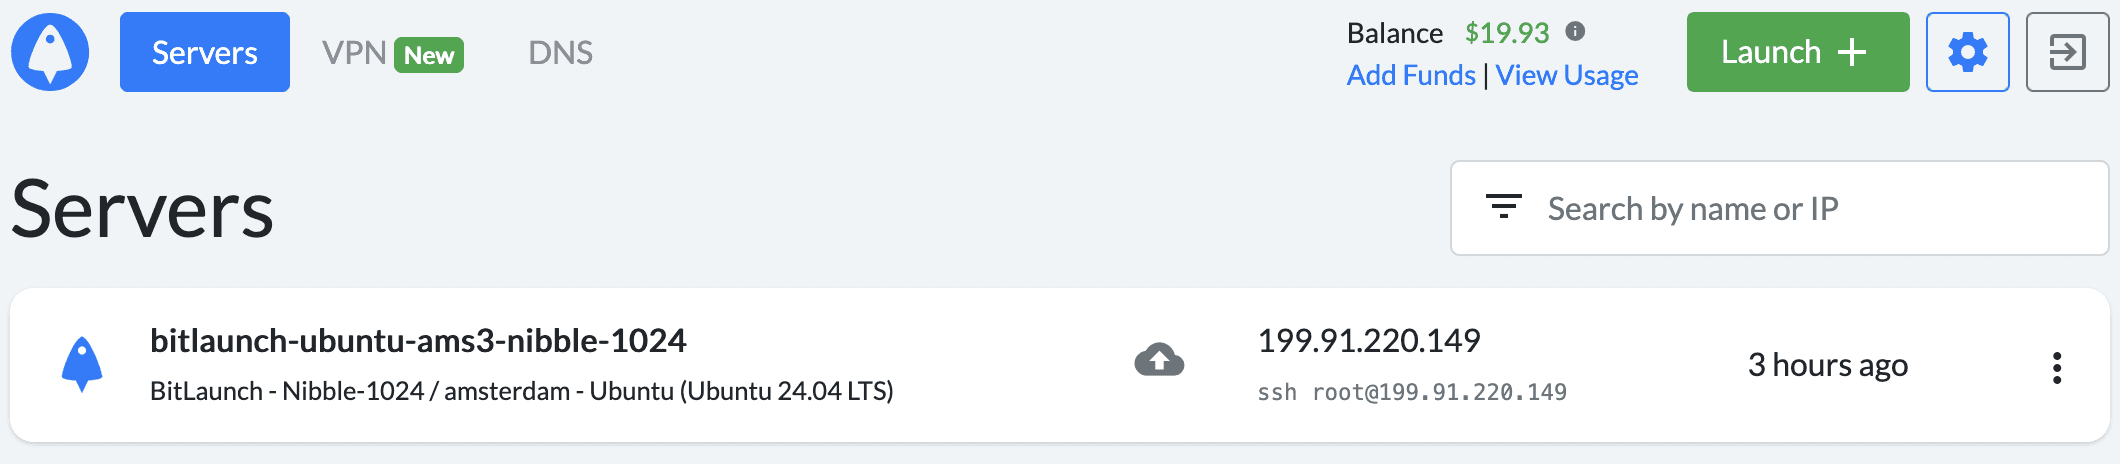
When everything looks good, click “Launch Server” at the bottom of the page. The server takes a few minutes to boot, so now is a good time to set up your domain. You can use any DNS provider you like; I’ll use namecheap.
Open your domain list and click “Manage” next to the domain you want to host your relay on. Then click “Advanced DNS”, followed by “Add New Record”.

Choose “A Record” and enter your new server’s IP address in the “IP Address” field. If you’re using the domain itself, enter @ in the “Host” field; otherwise enter the subdomain. (For example, to make your relay available at “relay.yourdomain.com”, enter “relay”.)

Click the check mark button, and you’re done with DNS.
Once the VPS finishes booting, click to copy the ssh <your ip address> command and paste it into your terminal (use the Terminal app on MacOS and Ubuntu, PuTTY or WSL on Windows).
This connects you to your new server, letting you run commands directly on the machine. If you set a password when creating your VPS, enter it now.
Now install a few programs on your server so it can run your relay. Copy the following into the terminal:
sudo apt update && sudo apt upgrade -yIf you’re asked whether to keep or replace a configuration file, keep the current version. When the install finishes, run sudo reboot now. You’ll get kicked out while the host restarts. After a couple of minutes, ssh back in and install some dependencies:
sudo apt install y podman podman-compose microNext, create a compose file with micro compose.yml and paste in the following:
version: '3'
services:
  zooid:
    image: gitea.coracle.social/coracle/zooid
    restart: unless-stopped
    container_name: zooid
    volumes:
      - ./volumes/zooid/config:/app/config:U
      - ./volumes/zooid/media:/app/media:U
      - ./volumes/zooid/data:/app/data:U
    networks:
      - nginx
  nginx:
    image: docker.io/jonasal/nginx-certbot:6.0.1
    restart: unless-stopped
    container_name: nginx
    environment:
      CERTBOT_EMAIL: "your email here"
    ports:
      - 80:80
      - 443:443
    volumes:
      - ./volumes/nginx/letsencrypt:/etc/letsencrypt
      - ./volumes/nginx/user_conf.d:/etc/nginx/user_conf.d
    networks:
      - nginx
networks:
  nginx:
    driver: bridge
This defines a zooid service, which is your relay, plus an nginx service that exposes the relay to the public internet and provisions certificates. Be sure to provide your real email address as CERTBOT_EMAIL.
Hit ctrl+s and ctrl+q to save and exit. Then run micro —mkparents volumes/nginx/user_conf.d/zooid.conf and paste the following:
server {
    listen 80;
    listen [::]:80;
    server_name example.com;

    return 301 https://$server_name$request_uri;
}

server {
    listen 443 ssl reuseport;
    listen [::]:443 ssl reuseport;

    server_name example.com;

    ssl_certificate         /etc/letsencrypt/live/zooid/fullchain.pem;
    ssl_certificate_key     /etc/letsencrypt/live/zooid/privkey.pem;
    ssl_trusted_certificate /etc/letsencrypt/live/zooid/chain.pem;

    ssl_dhparam /etc/letsencrypt/dhparams/dhparam.pem;

    proxy_http_version 1.1;
    proxy_set_header Upgrade $http_upgrade;
    proxy_set_header Connection "upgrade";

    proxy_set_header Host $http_host;
    proxy_set_header X-Real-IP $remote_addr;
    proxy_set_header X-Forwarded-For $proxy_add_x_forwarded_for;
    proxy_set_header X-Forwarded-Proto $scheme;

    location / {
        proxy_pass http://zooid:3334;
        proxy_read_timeout 86400;
    }
}
Make sure to replace both instances of example.com with your actual domain name. This file tells nginx how to request a certificate and how to serve your relay. Again, hit ctrl+s and ctrl+q to save and exit.
Note that the proxy header is Host $http_host;, not the more commonly seen Host $host;. This matters because zooid is multi-tenant: it routes each incoming connection to the correct relay config by matching the Host header exactly, including the port if you’re using a non-standard one. nginx’s $host variable silently drops the port, while $http_host passes the original header through untouched. Use $host and zooid may fail to match your relay to the request, so connections fail even though everything looks correctly configured.
Finally, we need to configure zooid’s policies. For more on what configuration is possible, see the readme. Run micro —mkparents volumes/zooid/config/relay.toml and paste in the following configuration file:
host = "relay.example.com"
schema = "relay"
secret = "<relay's hex private key>"

[info]
name = "My relay"
icon = "https://example.com/icon.png"
pubkey = "<owner's hex public key>"
description = "A community relay for my friends"

[groups]
enabled = true

[management]
enabled = true

[blossom]
enabled = true

[push]
enabled = true
You’ll want to update the following values:
host— your relay’s domain name, withouthttps://or a trailing slashsecret— the relay’s hex private key. You can generate one withhead -c 32 /dev/urandom | xxd -p | tr -d '\n'. It must be exactly 64 hex characters. Paste in something shorter and zooid won’t error out — it silently left-pads the value into a different, valid-looking key, and your relay will boot with an identity you didn’t intend. Double-check the length before saving.name,icon, anddescriptionpopulate the relay’s metadata.pubkeyis your Nostr public key. Whoever owns this key is the relay’s admin.
Hit ctrl+s and ctrl+q to save and exit. You can now run podman compose -d —build to start your relay.
Optionally, check podman compose logs for errors — invalid configuration files will crash zooid, and DNS errors can make certbot fail. Once you’re satisfied everything is running, you can close your terminal window and the server will keep running.
To test your connection, open Flotilla and click the compass icon in the sidebar:
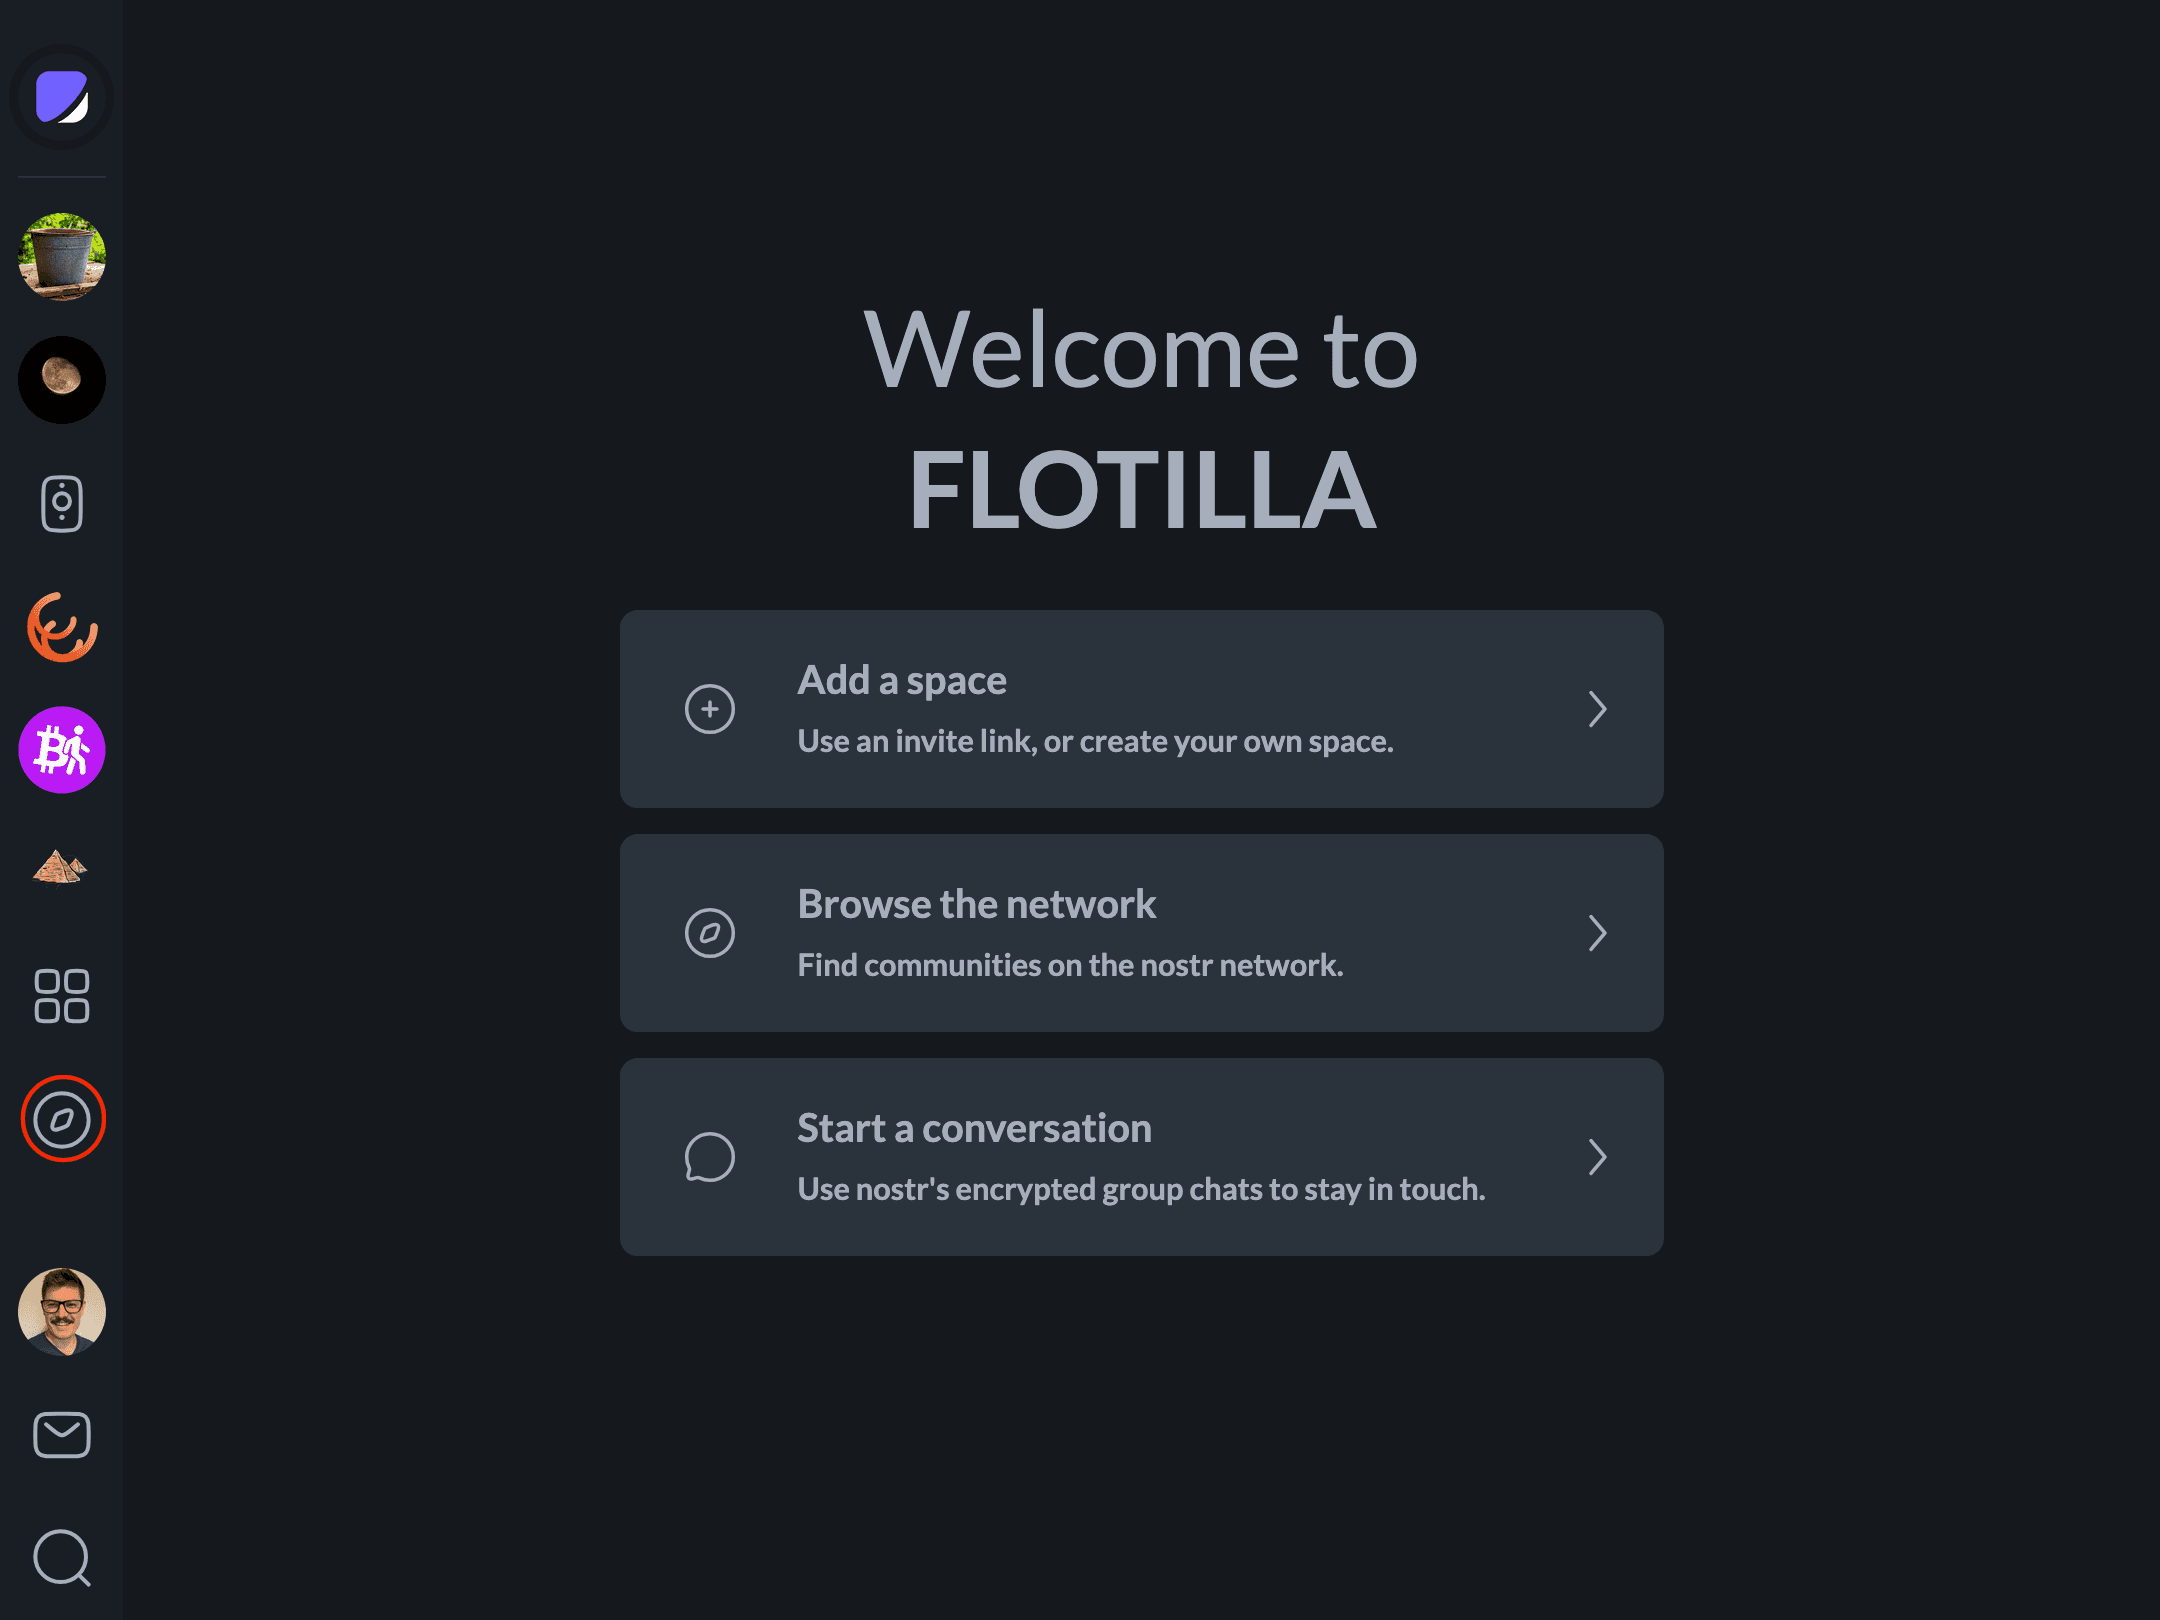
Enter your relay URL in the search bar and click the first result. If the connection status is green, your relay is set up correctly.
Inviting Your First Members
The configuration above never mentions a [policy] block. That’s deliberate for this tutorial, but it has a big consequence: an empty or absent [policy] block makes your relay fully closed. With the config as written, nobody but you can read or write to it, and there’s no built-in way for anyone else to even discover it, let alone join.
You still have a way in, though. Whoever’s hex public key is set as pubkey under [info] — that’s you, the relay owner — always has full admin and invite rights, no matter what’s in [policy] or [roles]. So you can open Flotilla, connect to your new relay, and either generate an invite link or add members directly by their Nostr public key. They’ll be able to join even though the relay is otherwise closed to the public.
If you’d rather run an open space that anyone can find and join without an invite, add a [policy] block to your relay.toml with public_read = true and public_join = true (add public_write = true too if you want non-members to be able to post). These all default to false, so you only need to set the ones you actually want to turn on.
For the full picture of invite links, adding members by pubkey, and the difference between an invite-only and an open space, see Controlling Who Can Join Your Space.
Bear in mind that server administration isn’t a set-it-and-forget-it thing. It’s important to keep your server up to date, secure, and backed up. Backups and upgrades are out of scope for this tutorial — see Backing Up and Upgrading Your Self-Hosted Relay for zooid-specific guidance. Beyond that, plenty of resources exist to help new sysadmins get started.
And of course, if you get stuck or have questions, please join our space and we’ll be happy to help.